A Large Family Collection of Slides, Albums and Loose Prints
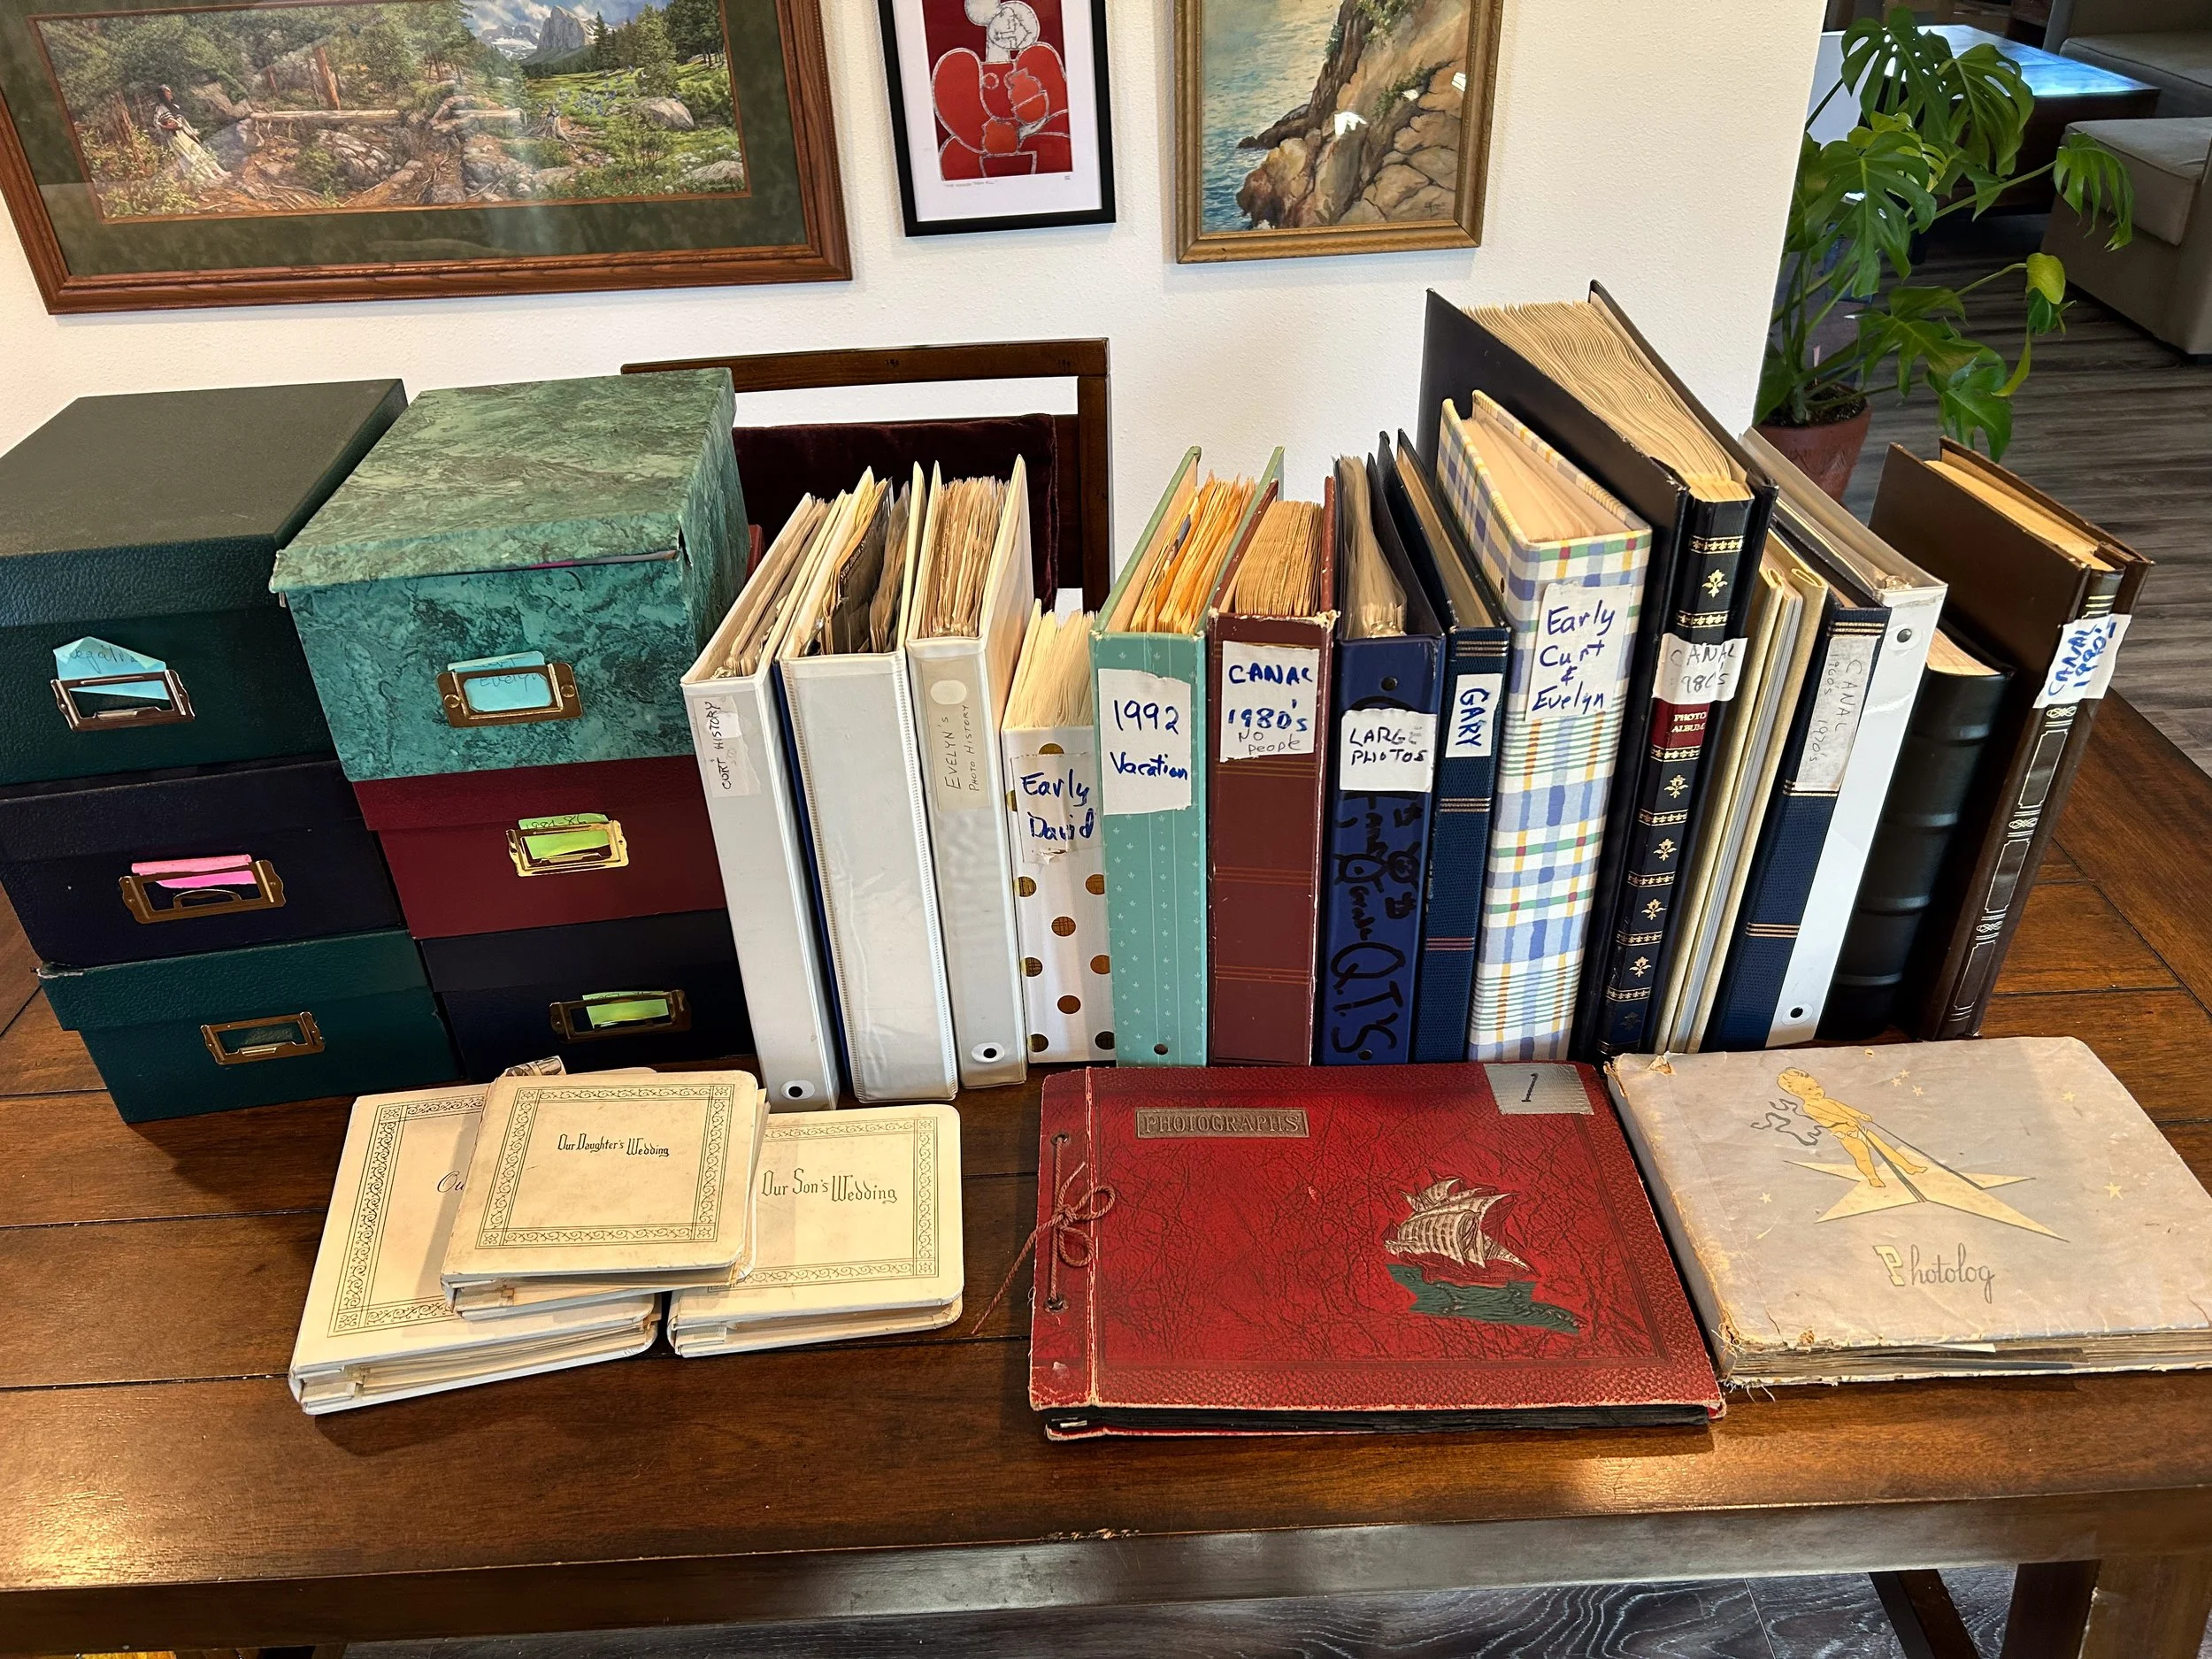
This client came to us wanting to help their parents organize their large collection of slides, loose prints and albums. These came to us very well organized. The albums were already curated by topic and date, the slide boxes all had date information and the loose prints were in boxes by 5 year increments divided by index cards.
These are the albums and loose photos in boxes.
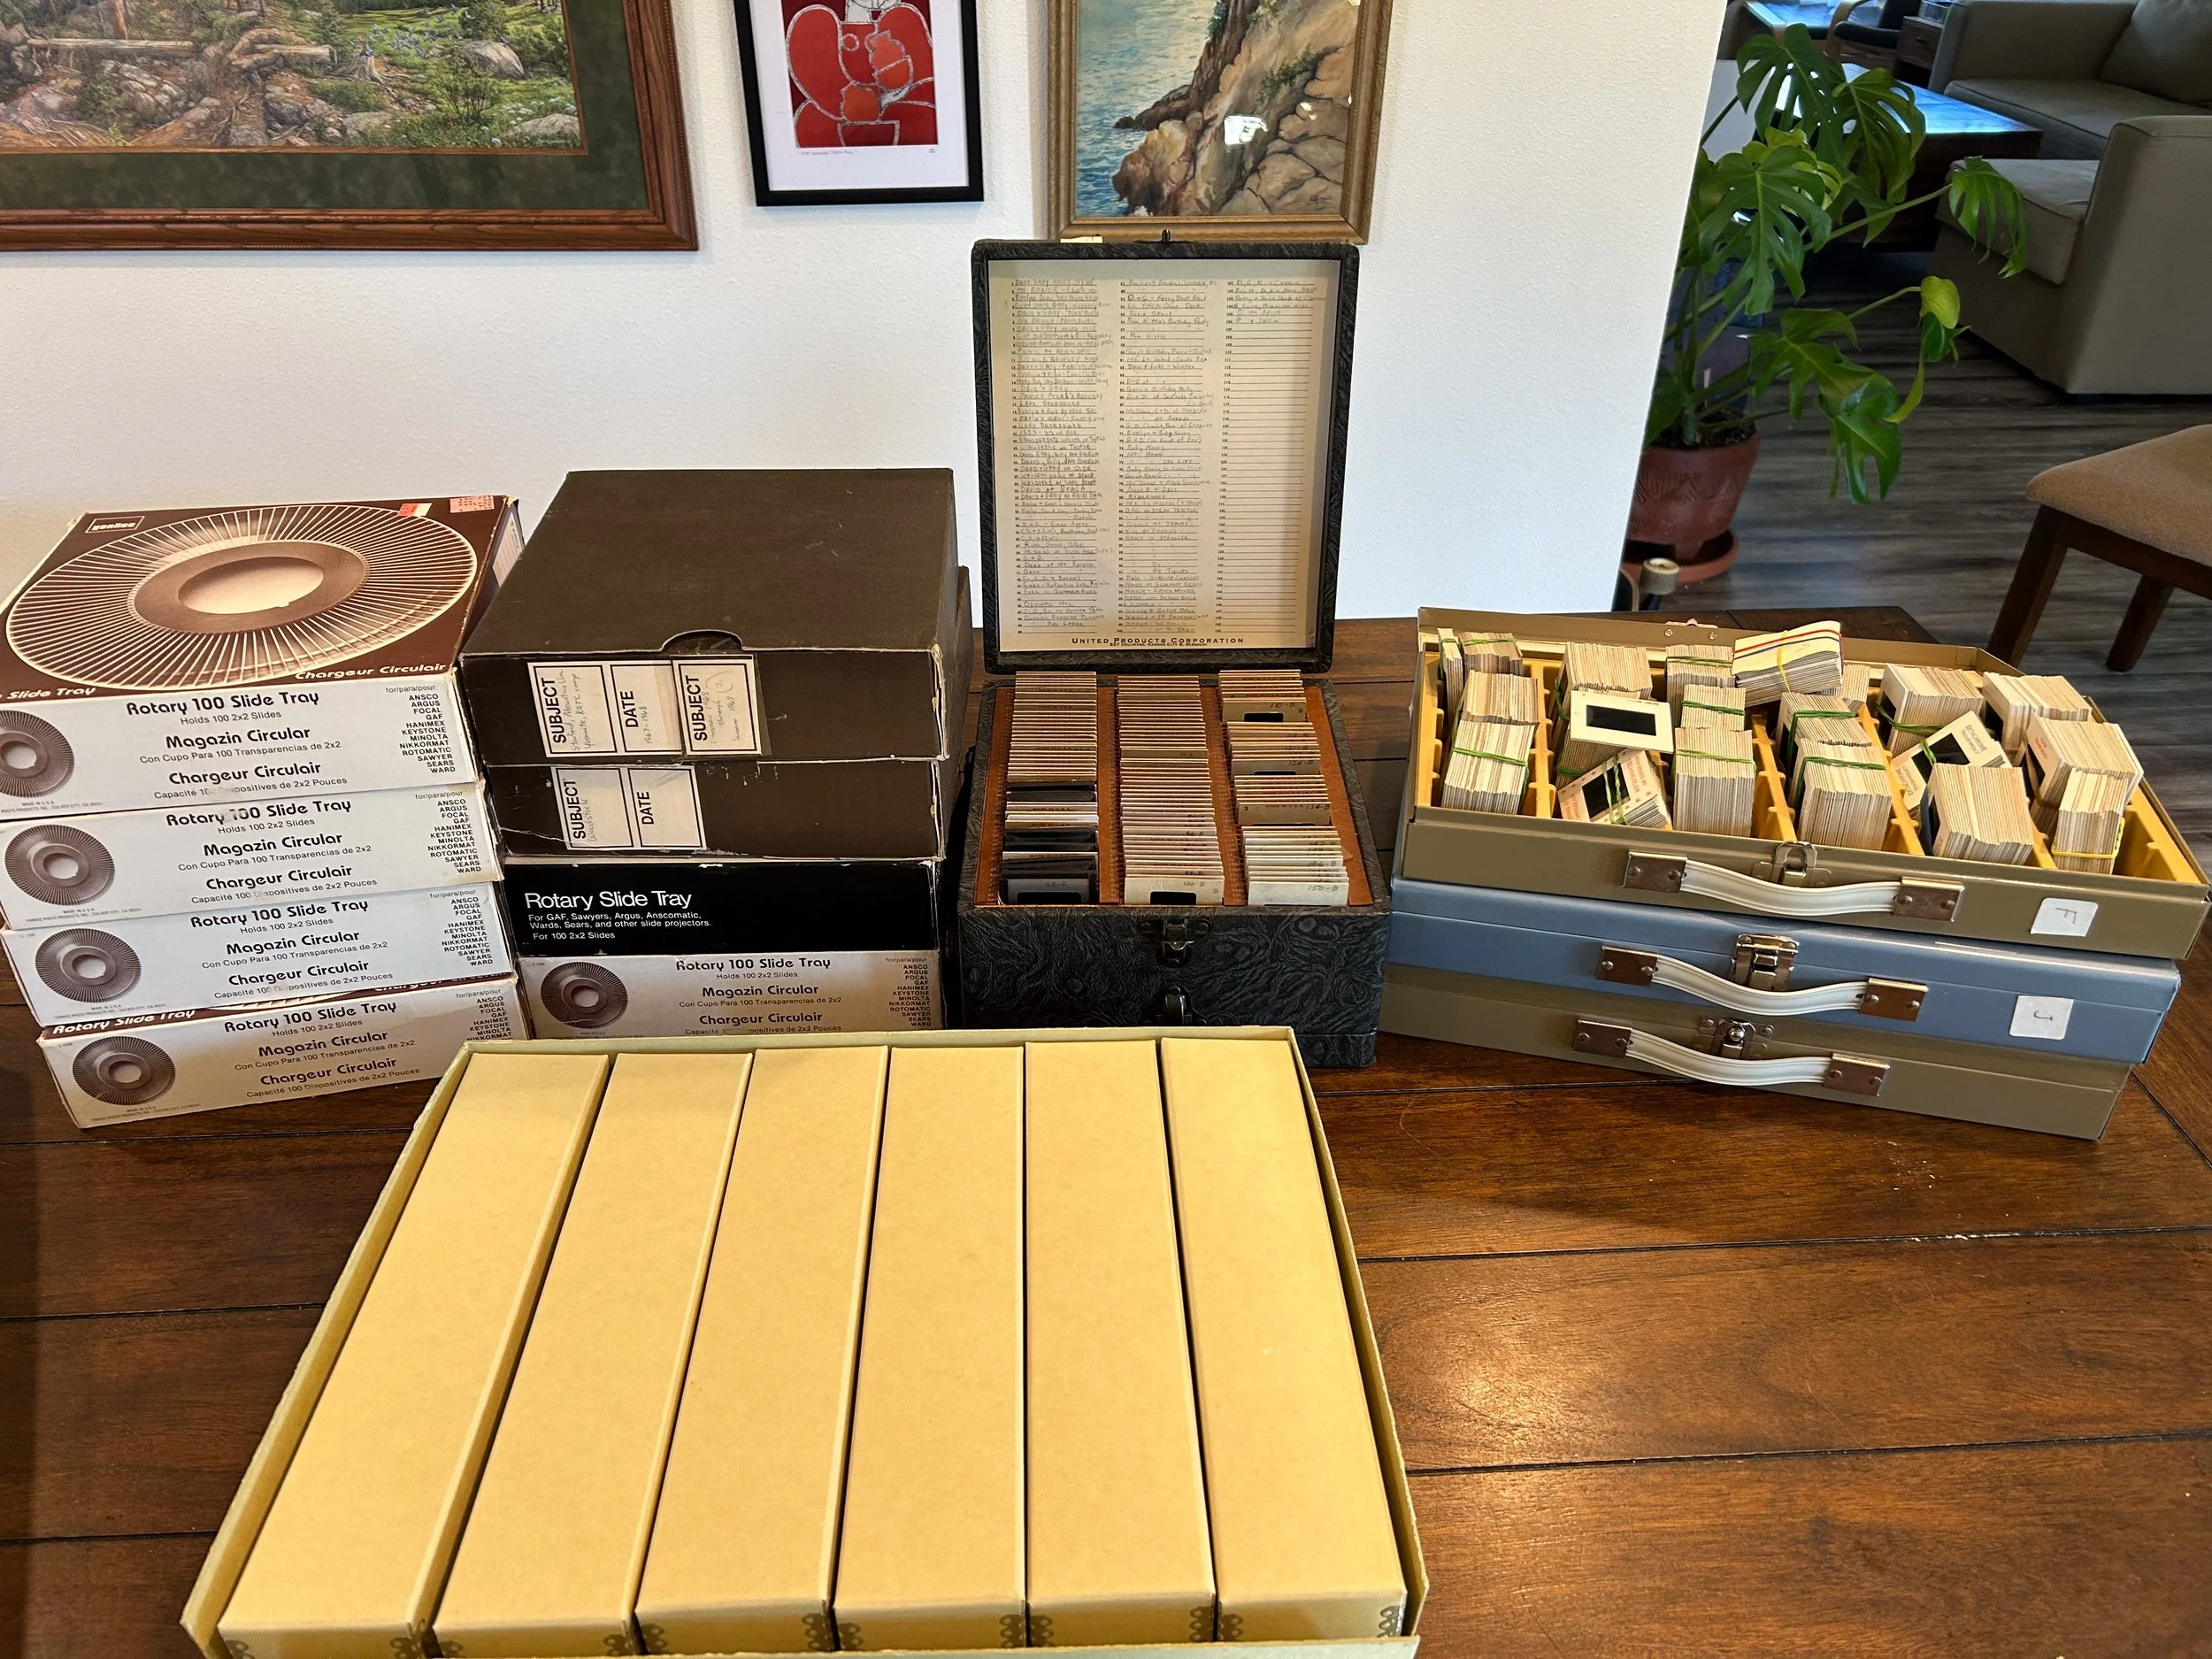
These are the slides, some in projector carousels and many more in slide boxes.
Step 1: Estimating the Size of the Photo Collection
After unpacking everything I brought back from the client’s home, I estimated there were about 1,000 photos in each box. I then did a page-to-photo count of the albums, which came to roughly another 1,800 images—bringing the total to around 7,800 photographs. Instead of counting every individual photo in the albums, I used a sampling method: counting the number of pages and multiplying by the average number of photos on the first few pages.
For the slides, I estimated between 2,100 and 2,500 based on the storage boxes they were in. This estimate turned out to be on the low side, as the metal boxes held far more slides than I had anticipated!
Step 2: Sorting and Editing the Photo Collection
I estimated that each bin held about 800–900 photos. The organizing and editing process for this part of the project was straightforward, since we followed the same structure as the original albums. The collection had already been carefully curated, so only minimal editing was needed.
The photo boxes, however, required more attention. While they were generally sorted by year, the photos within each year were mixed together. To refine the organization, I used key family events—such as birthdays, holidays, and other milestones—to place the images into a more accurate chronological order before scanning.
Step 3: Scanning or Digitizing the Photos
After the editing and sorting stage, we move onto digitizing the images. Camera scanning offers speed, flexibility, and exceptional image quality compared to traditional flatbed scanners. By using a high-resolution digital camera and proper lighting, we can capture photos, slides, and negatives with great accuracy and resolution. This method also allows for greater detail, better color accuracy, and less physical handling of fragile originals, making it ideal for preserving delicate or oversized items.
Using the camera-scanning process to digitize slides at our office in Portland, Oregon.
Step 4: Uploading to Forever.com
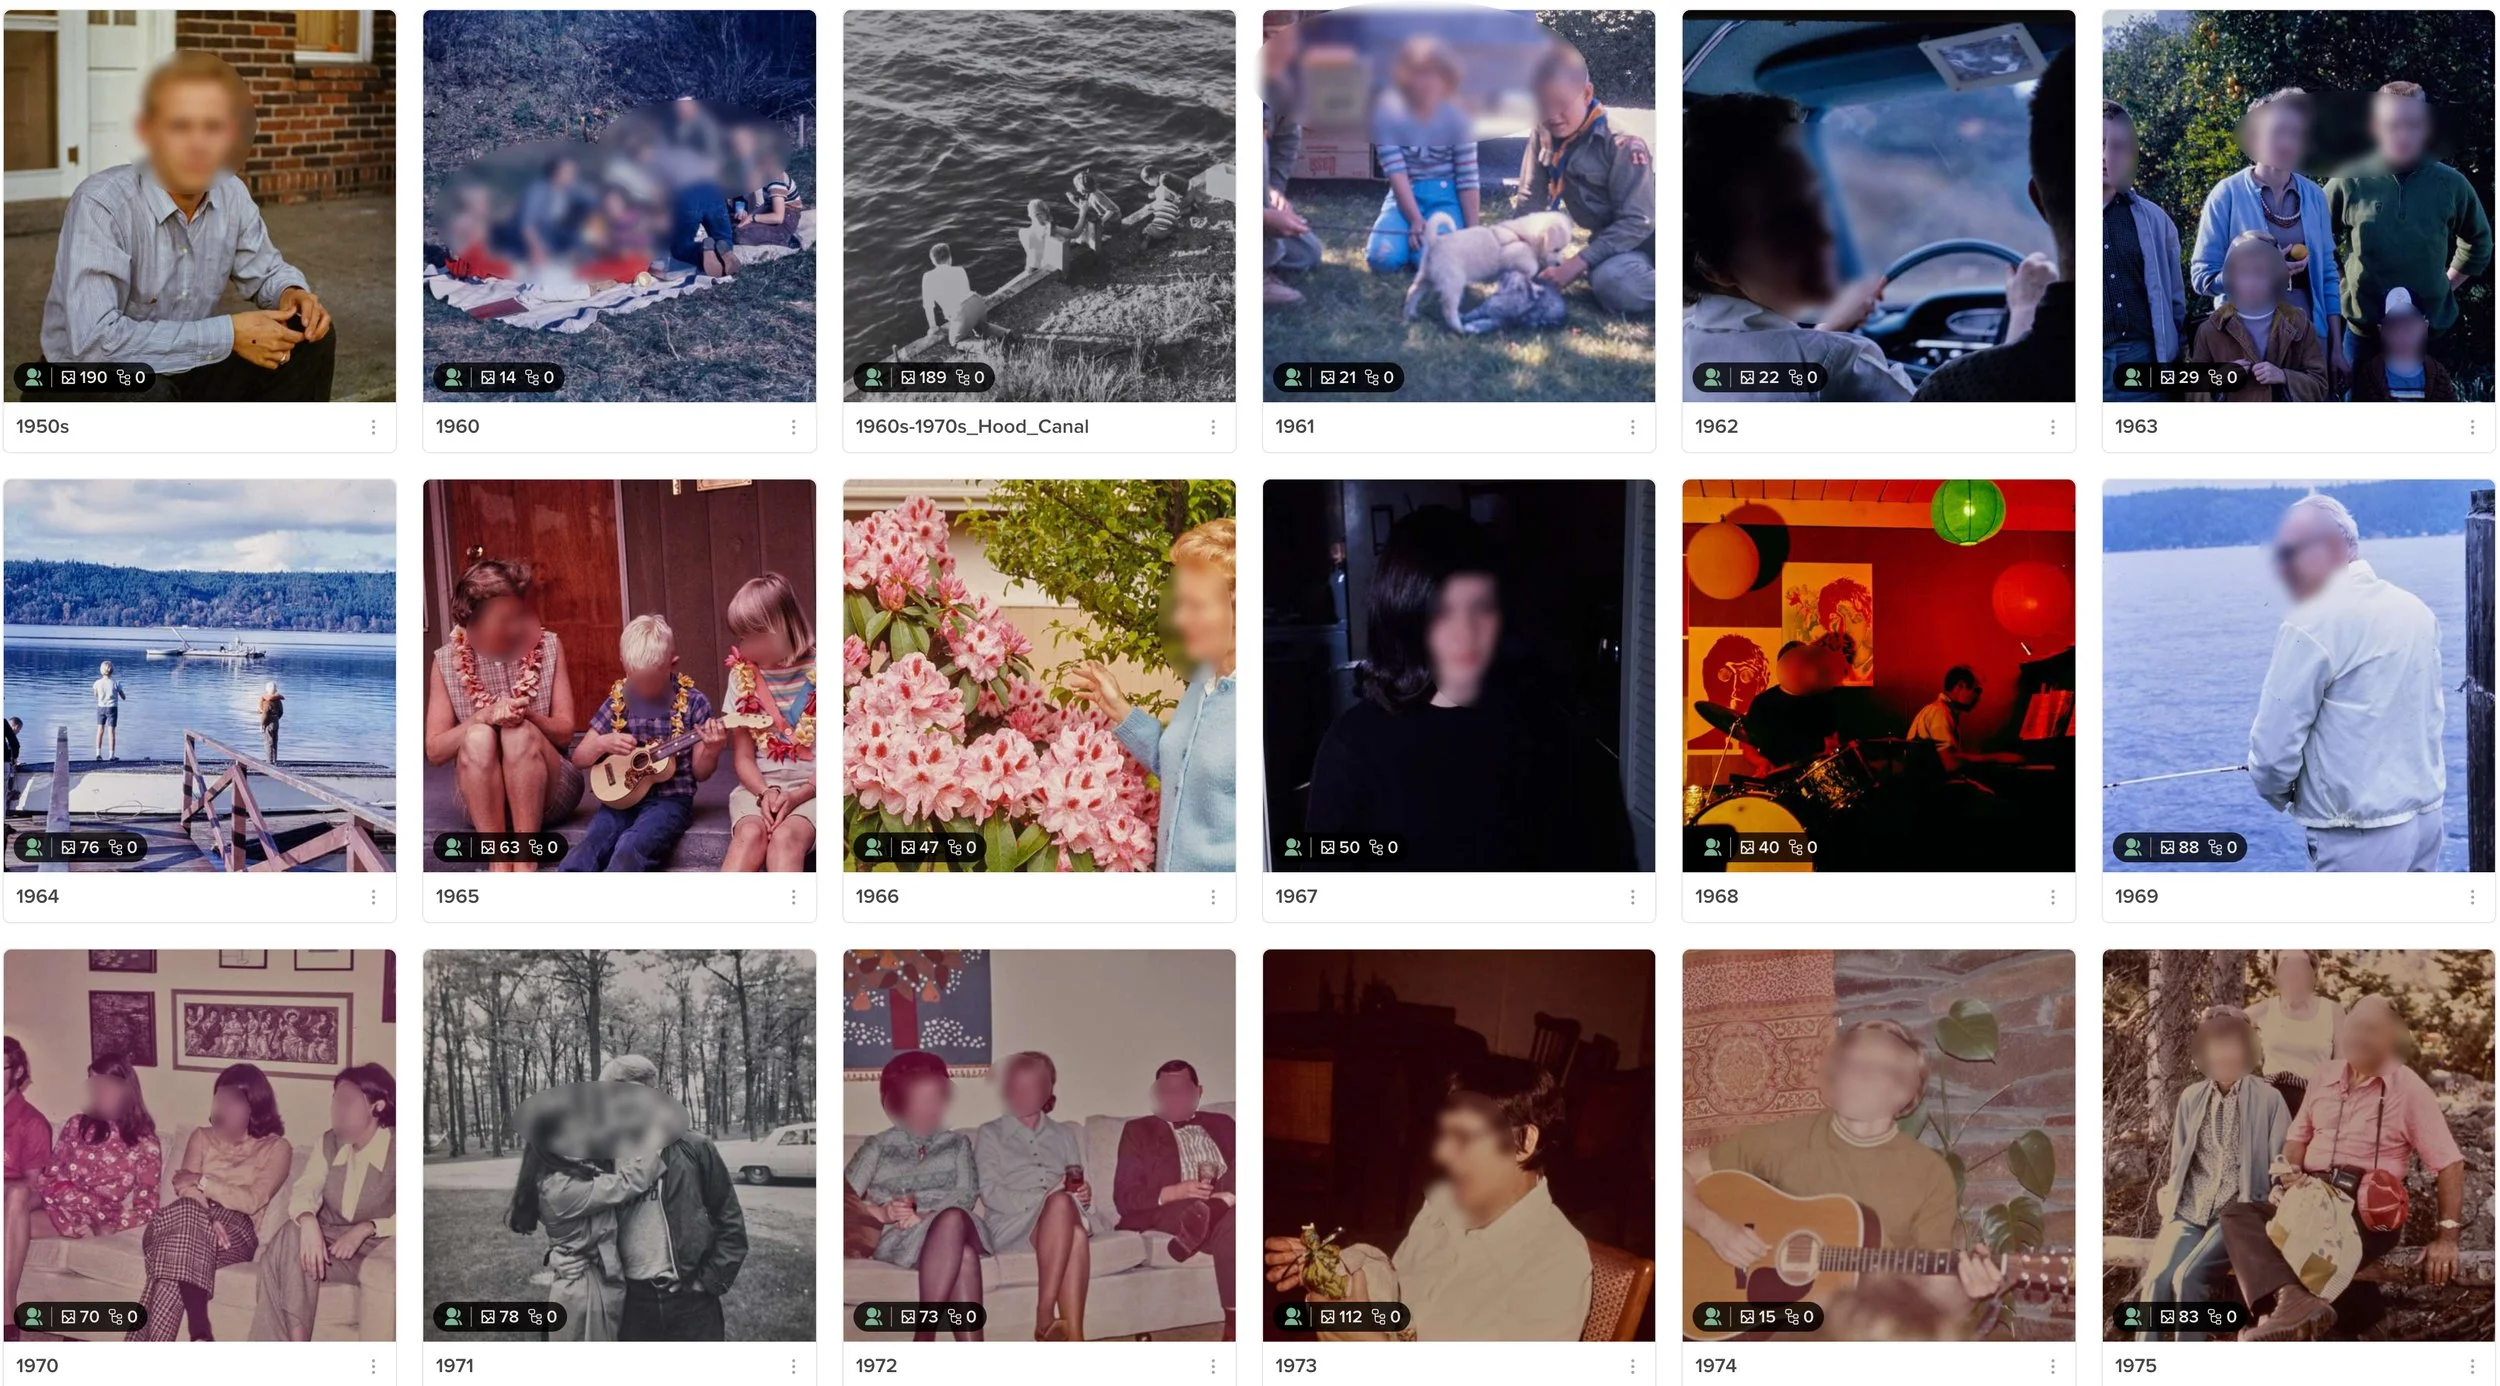
Please note that faces have been blurred per the client request to retain privacy.
This client opted to have us load their images onto Forever.com which is permanent cloud storage, with no subscription fees (you pay once up front) or risk of losing access, and the ability to share memories with loved ones for generations to come. We created albums based on years and special events. The client will be adding tags and descriptions. Forever.com allow for multiple users to add information, making it ideal for families who want to work on preserving their history together.
Step 5: Archival Organization and Long Term Preservation of the Physical Photographs and Slides
These are the images ready for archival storage. They are in boxes from Archival Methods. Each box holds approximately 1000 images. The images are free of all rubber bands, tape, paper clips, etc. that may damage the photographs over time.
Close up of the slide boxes. Now that the slides are digitized, these boxes are purely for long-term archival storage. Note that there are two colors of boxes as we reused some archival boxes that already belonged to the client.
With the lids removed, you can see how each box is organized. The photos are separated by index cards, and we carried this same system into the digital files ensuring that the scanned images mirror the original print organization.
With the lids removed, you can see how each box is organized. The slides are separated by index cards, and are packed securely enough to not move around but not to tight so as to allow for airflow.
Project Wrap-Up: Family Archive Organization and the Numbers
This project was a rewarding opportunity to preserve a family’s legacy through careful organization, digitization, and attention to detail. From estimating thousands of photos and slides to maintaining consistent chronological order and carrying over original album structures, every step was designed to honor the family’s history.
The combination of minimal editing for already-curated albums and more detailed work for mixed collections ensured that both the print and digital archives accurately reflect the family’s story. By using a thoughtful approach to organization, metadata, and preservation, the digital files now mirror the physical collections, making them accessible, searchable, and ready for future generations to enjoy.
Ultimately, this project demonstrates the importance of combining technical expertise with a respect for family narratives—ensuring that memories, stories, and images are preserved not just as files, but as a meaningful legacy.
We always get asked, but how long did it take? Here are the numbers for this project.
4 hours removing photos from album (estimated 7-8 hours)
8 hours to organize, edit and sort
7027 photos digitized (estimated 7800 before editing)
3188 slides digitized (estimated 2500)
2 hours moving items into Archival Storage (estimated 3 hours)
Decided to upload to Forever.com- additional 5 hours editing collection for Forever from 10,188 total images to around 5000 total images to be uploaded.
If you have a similar story or are interested in creating a family archive or organize your photos, please reach out to us! We’d love to hear from you.


