This blog post is based on a presentation we gave for the Oregon Museum Association (OMA) on creating thoughtful, sustainable digitization workflows for museums, historical societies, libraries, and community archives. The presentation was designed to help organizations think beyond simply scanning or capturing their collections and instead consider the entire process—from assessing materials and choosing appropriate equipment to creating metadata, organizing files, and planning for long-term storage and access. We’ve adapted that presentation into a blog article so that these ideas can be a useful resource for anyone working with an institutional collection that needs to be digitized and preserved. This is a long one, so we will publish part 1 this month and part 2 next month. We hope you enjoy!
-Rachel and Morgan
Digitizing a Collection Can Feel Overwhelming

Maybe your museum has boxes of photographs, slides, documents, and negatives waiting to be scanned. Perhaps your historical society has VHS tapes and audio recordings that are becoming increasingly difficult to access. Or maybe you've already digitized thousands of files—but now you're wondering where everything should live, how it should be organized, and whether you're actually preserving anything for the future.
The good news is that you don't need a massive budget, a complicated digital preservation system, or a room full of expensive equipment to get started.
What you do need is a thoughtful, repeatable workflow.
At The Family Archivists, we work with photographs, documents, film, audio, video, and other family and community collections. We've learned that the technology is only one piece of the puzzle. The most successful digitization projects begin with a clear understanding of why you're digitizing, who will use the files, how the files will be managed, and what you want to be able to do with the collection years from now.
Here's a practical framework for building a digitization workflow that works for museums, historical societies, libraries, community archives, and other organizations.
Start With the Goal—Not the Equipment When Making A Digitization Plan
One of the easiest mistakes to make is starting with the question:
"What scanner should we buy?"
Instead, start with a different set of questions:
Why are we digitizing this collection?
Who will use the digital files?
What level of quality do we need?
What resources do we have?
What are our long-term plans?
Your answers will influence nearly every technical decision that follows. A collection being digitized for long-term preservation may require very different specifications from a collection being digitized primarily for a website or upcoming exhibit. Likewise, a large museum preparing materials for a publication may have very different resources from a small historical society trying to preserve a box of aging photographs and a collection of oral histories.
Start with the purpose and let that purpose guide the technology.
The goal isn't to build the most sophisticated digitization system possible. It's to build a system that meets your needs and that your organization can realistically maintain.
Assess the Collection Before You Begin Scanning
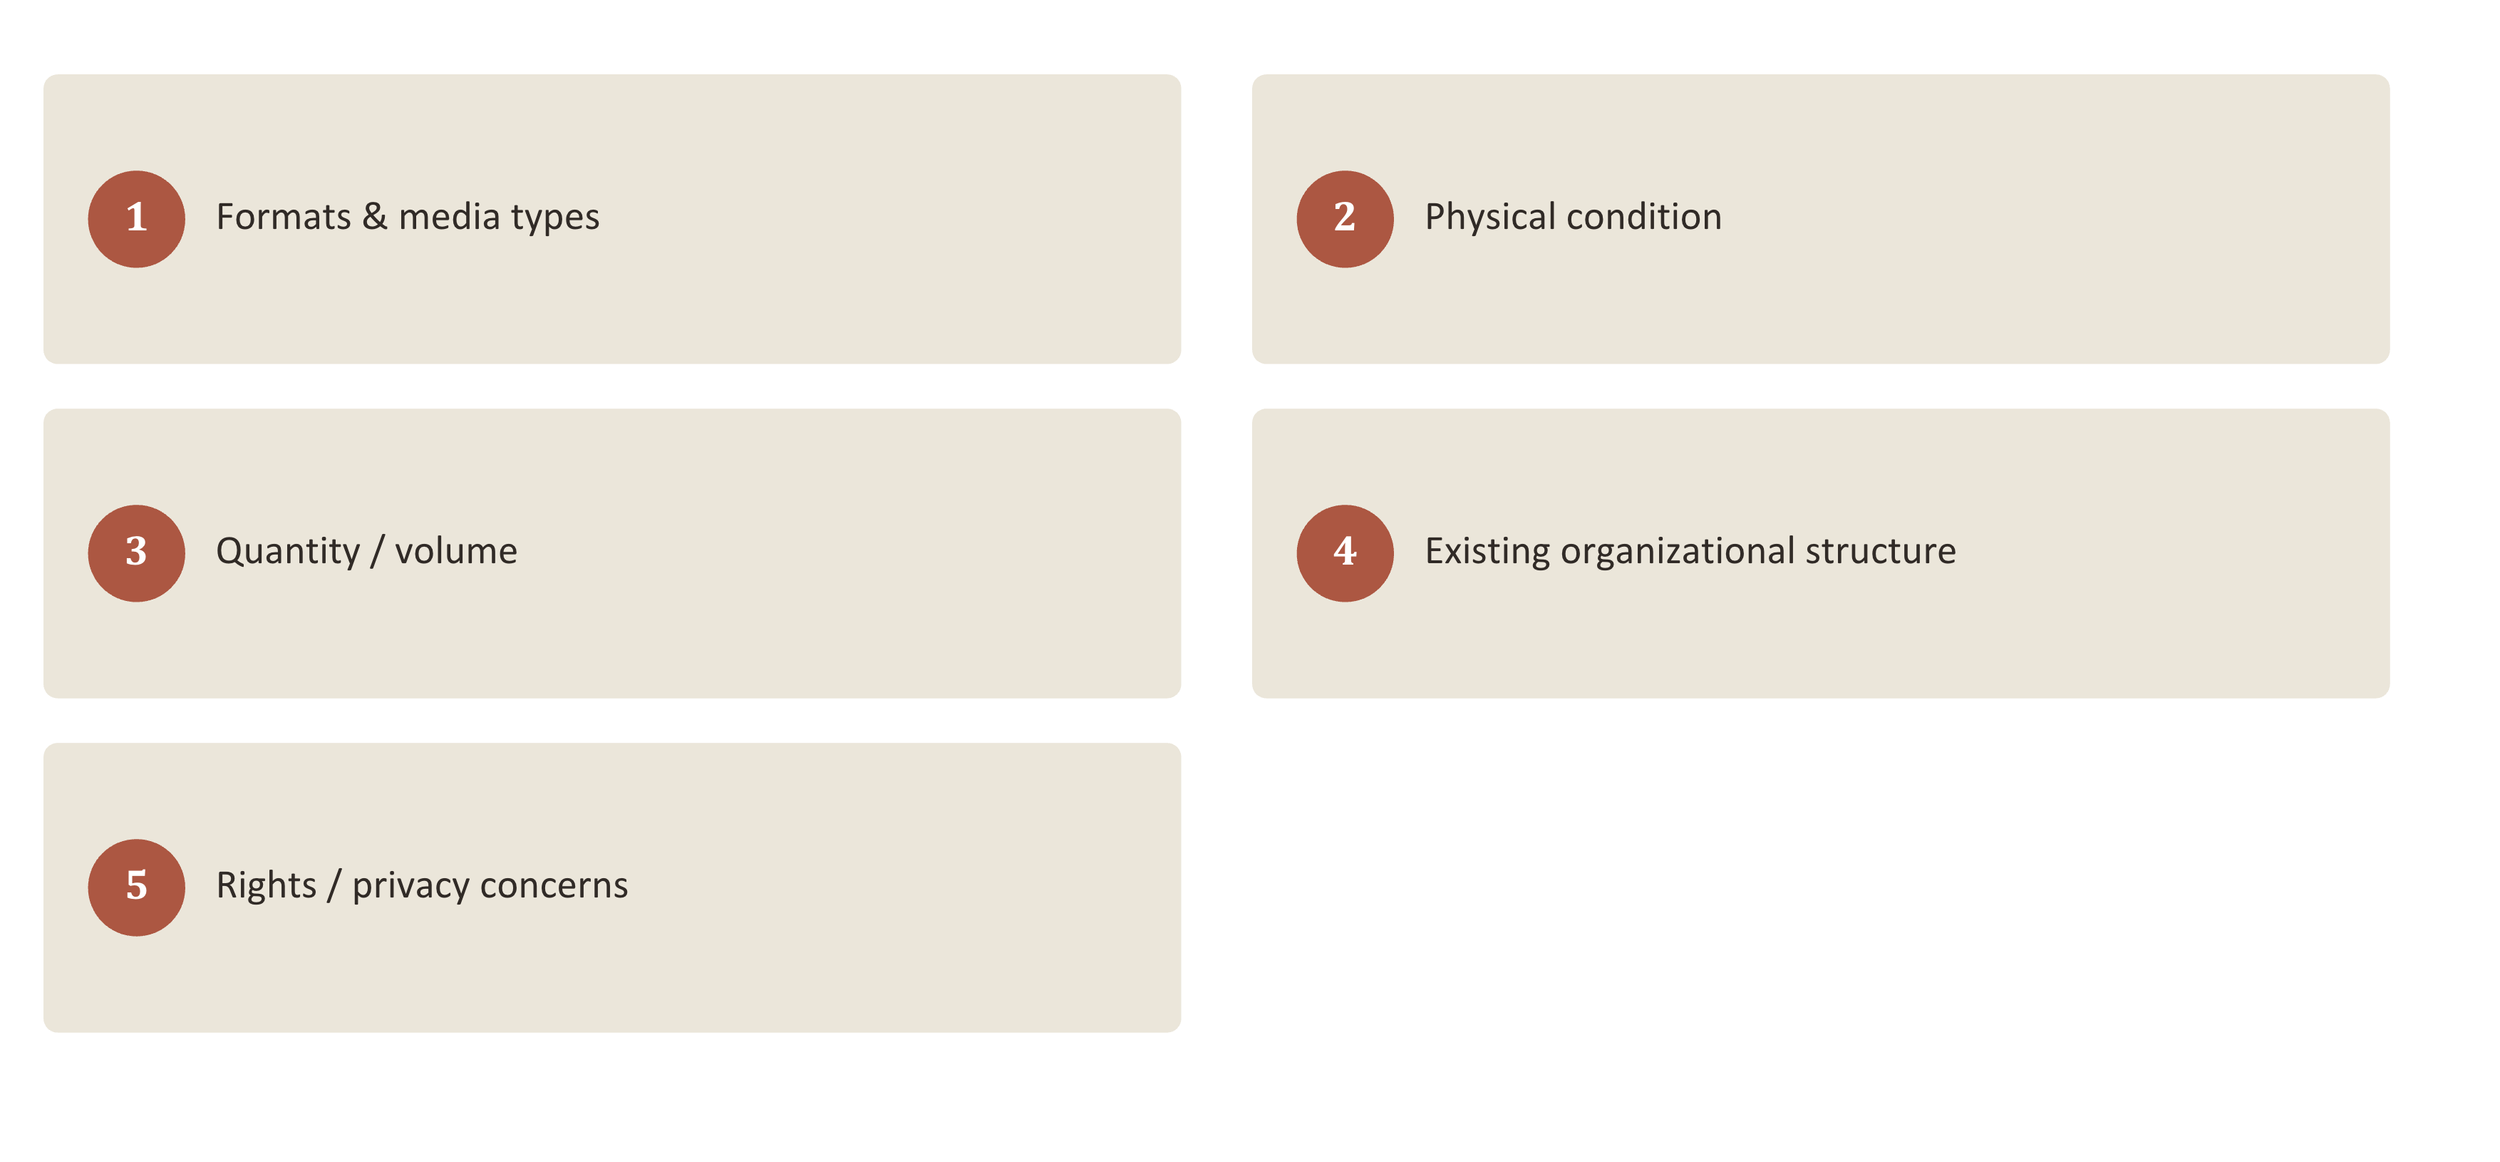
Before you start scanning, take some time to understand what you actually have.
What formats are represented in the collection? Mixed-format collections are extremely common and each format presents different challenges.
Consider the physical condition. Are items fragile, brittle, stuck together, damaged, moldy, or otherwise deteriorating? Some materials may require conservation or specialized handling before they can safely be digitized. Digitization should never become an excuse to handle an object in a way that could cause damage.
Consider the volume. Digitizing 200 photographs is very different from digitizing 20,000.
The size of the collection affects: Equipment, Staffing, Volunteer involvement, Processing time, Storage requirements, Budget, and Quality-control procedures.
Look at existing organization. Are materials already arranged chronologically or by subject? Are they in albums, boxes, folders, or envelopes? Are there existing inventories or finding aids? And don't overlook the information that exists outside the physical objects. Someone in your organization or community may know who is pictured, where an event took place, or why a particular collection matters. That knowledge is part of the archive, too.
Rights and Privacy Concerns. Identify rights, privacy, and access concerns early. Who owns the materials? Are there restrictions? Does the collection contain sensitive personal or culturally restricted information? This information is important to know before digitizing.
How Do You Decide What to Digitize First?

You don't necessarily have to digitize an entire collection in order to make meaningful progress. In fact, trying to digitize everything at once can be a recipe for getting stuck.
Instead, consider:
What is most at risk?
What is most important?
What is most frequently requested?
What is becoming difficult to access?
What materials are at risk of physical deterioration?
What matters most to the community?
For audiovisual collections, accessibility can be an especially important consideration. The physical tape or film may still exist, but the equipment required to play it may be increasingly difficult to find or maintain. Community priorities should also play an important role. The materials an institution considers most historically significant aren't necessarily the same materials a community considers most meaningful. Sometimes the best question is simply:
"What would we regret losing the most?"
Prioritization isn't about deciding what's important and what's not. It's about deciding what deserves your limited resources first.
How Do You Build a Repeatable Digitization Workflow?
Once you've established your goals and priorities, create a workflow.
A basic digitization workflow might look like this:

1. Intake: Document what comes into the project. Record where materials came from, who provided them, what collection they belong to, and any restrictions or special instructions. This establishes a connection between the physical materials and the digital files you eventually create.
2. Inventory: Create an inventory of what you have. You don't necessarily need a complicated database. A spreadsheet can be an excellent starting point. At minimum, consider recording: Item or box number, Description, Format, Quantity, Dates, if known, Source or donor, Restrictions, Condition, and Digitization status.
3. Preparation: Prepare materials carefully for digitization. Depending on the collection, this might involve organizing items into sequence, removing materials from inappropriate enclosures, or gently cleaning materials when appropriate. The key is to avoid making physical changes simply to make digitization easier.
4. Digitization: Capture the material using appropriate equipment and settings. The right equipment depends on the original format, condition, quantity, desired quality, budget, and available expertise. There isn't one universal piece of equipment that's right for every collection.
5. Quality Control: Don't assume that because the scanner or camera created a file, the file is automatically good. Review your files. Look for: Missing items, Cropping problems, Focus issues, Exposure problems, Color problems, Dust or debris, Incorrect orientation, File corruption, and Incorrect file names. Quality control is much easier when you establish standards at the beginning of the project.
6. Metadata: Add information that gives the digital files context. We'll talk more about metadata below, because this is one of the areas that can make the biggest difference between a folder full of digital files and a useful digital archive.
7. Storage and Backup: Store the files appropriately and make sure multiple copies exist. This is where the 3-2-1 backup rule becomes particularly useful.
8. Access and Delivery: Finally, determine how people will actually use the collection.
Will files be:
Added to a website?
Used in an exhibit?
Provided to researchers?
Shared with community members?
Used for educational programs?
Made available through a digital repository?
Your access needs should influence how you create and organize your derivative files. A documented workflow also reduces decision fatigue. Instead of asking "What do I do with this?" every time an item crosses your desk, your workflow tells you what comes next.
The Five Principles of Good Digitization
No matter how large or small your project is, five principles can help keep you on track.
1. Capture once at the highest practical quality: Whenever possible, create a high-quality digital master that you won't have to recreate later.
2. Use a non-destructive workflow: Preserve the original object. Don't cut, flatten, remove attachments, or otherwise alter materials simply to make digitization easier.
3. Be consistent: Consistency matters when you're working with hundreds or thousands of files. Aim for consistency in: Resolution, Exposure, Color, Framing, File formats, and File naming.
4. Document your decisions:Record the equipment, resolution, file formats, software, color-management practices, naming conventions, and significant processing decisions. You may think you'll remember them six months from now. You probably won't.
5. Maintain provenance: Always maintain the connection between the digital file and the original object. Where did it come from? Who created it? Who owned it? What collection did it belong to? That context is part of the value of the object—not an optional extra.
Preservation Masters vs. Access Copies For Digital Files
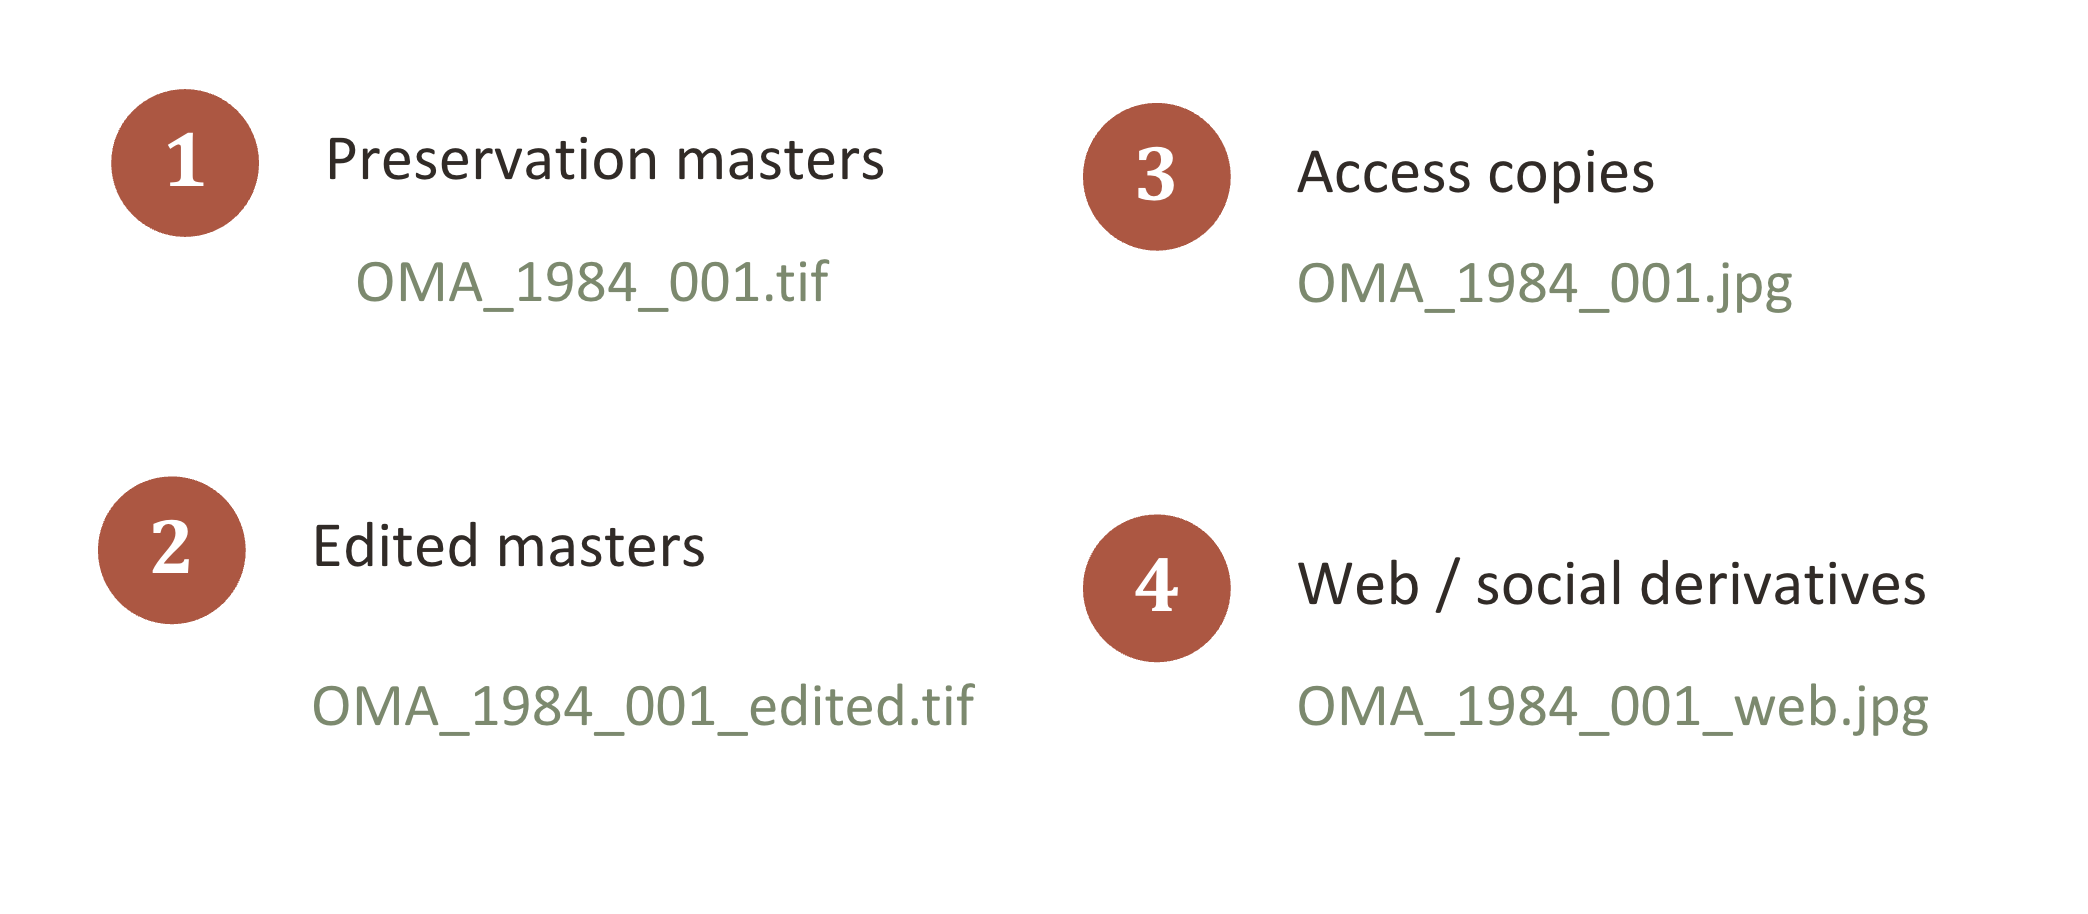
One of the most important concepts in digital preservation is understanding that your preservation file and your access file don't have to be the same thing. A preservation master is your highest-quality digital representation of the original. It is intended for long-term retention and should receive minimal editing. An access copy is created for everyday use.
It might be: a smaller JPEG, a PDF, an MP3, a compressed video, or a web-ready image. The advantage of separating these functions is flexibility.
For example:
Preservation master:
OMA_1984_001.tif
Edited version:
OMA_1984_001_edited.tif
Access copy:
OMA_1984_001.jpg
Web derivative:
OMA_1984_001_web.jpg
If your website needs a smaller image next year, you can create a new derivative from the preservation master rather than going back and digitizing the original again. Create derivatives from your master files—not by modifying the master itself.
Choosing File Formats When Digitizing for an Institution
File format decisions can feel intimidating, but the basic concept is straightforward: different formats serve different purposes. For still images, TIFF is commonly used as a preservation format because it can retain image information without lossy compression. The tradeoff is that TIFF files can be very large.
JPEG files are much smaller and are convenient for sharing, email, websites, and everyday access. Because JPEG uses lossy compression, however, it is generally better suited to access than preservation.
PNG can be useful for graphics, screenshots, illustrations, and images where transparency is important.
For audio, WAV is commonly used as a preservation format because it can store uncompressed audio. A smaller MP3 can then be created for convenient listening.
Video is more complicated, and format decisions should be based on the source material, intended use, and preservation strategy.
The important thing is to establish your format standards before you begin processing thousands of files.
Metadata: The Information That Gives Your Collection Meaning
Metadata is often described as "data about data." It provides information that tells us what a digital object is, where it came from, what it contains, and how it should be managed.
There are four broad categories:
Descriptive metadata: This describes what the object is and what it contains. Examples include: Title, Creator, Date, Location, Description, People pictured, and Keywords.
Technical metadata: This describes the digital file itself. Examples include: File format, Resolution, Dimensions, Color space, Bit depth, Equipment, and Software.
Administrative metadata: This helps manage the collection. It might include: Copyright, Permissions, Restrictions, Ownership, Donor information, and Digitization details
Structural metadata: This describes relationships between files or parts of a collection.
Metadata transforms a digital file from something you can open into something you can actually understand, search, and use.
File Naming Conventions for Digital Preservation
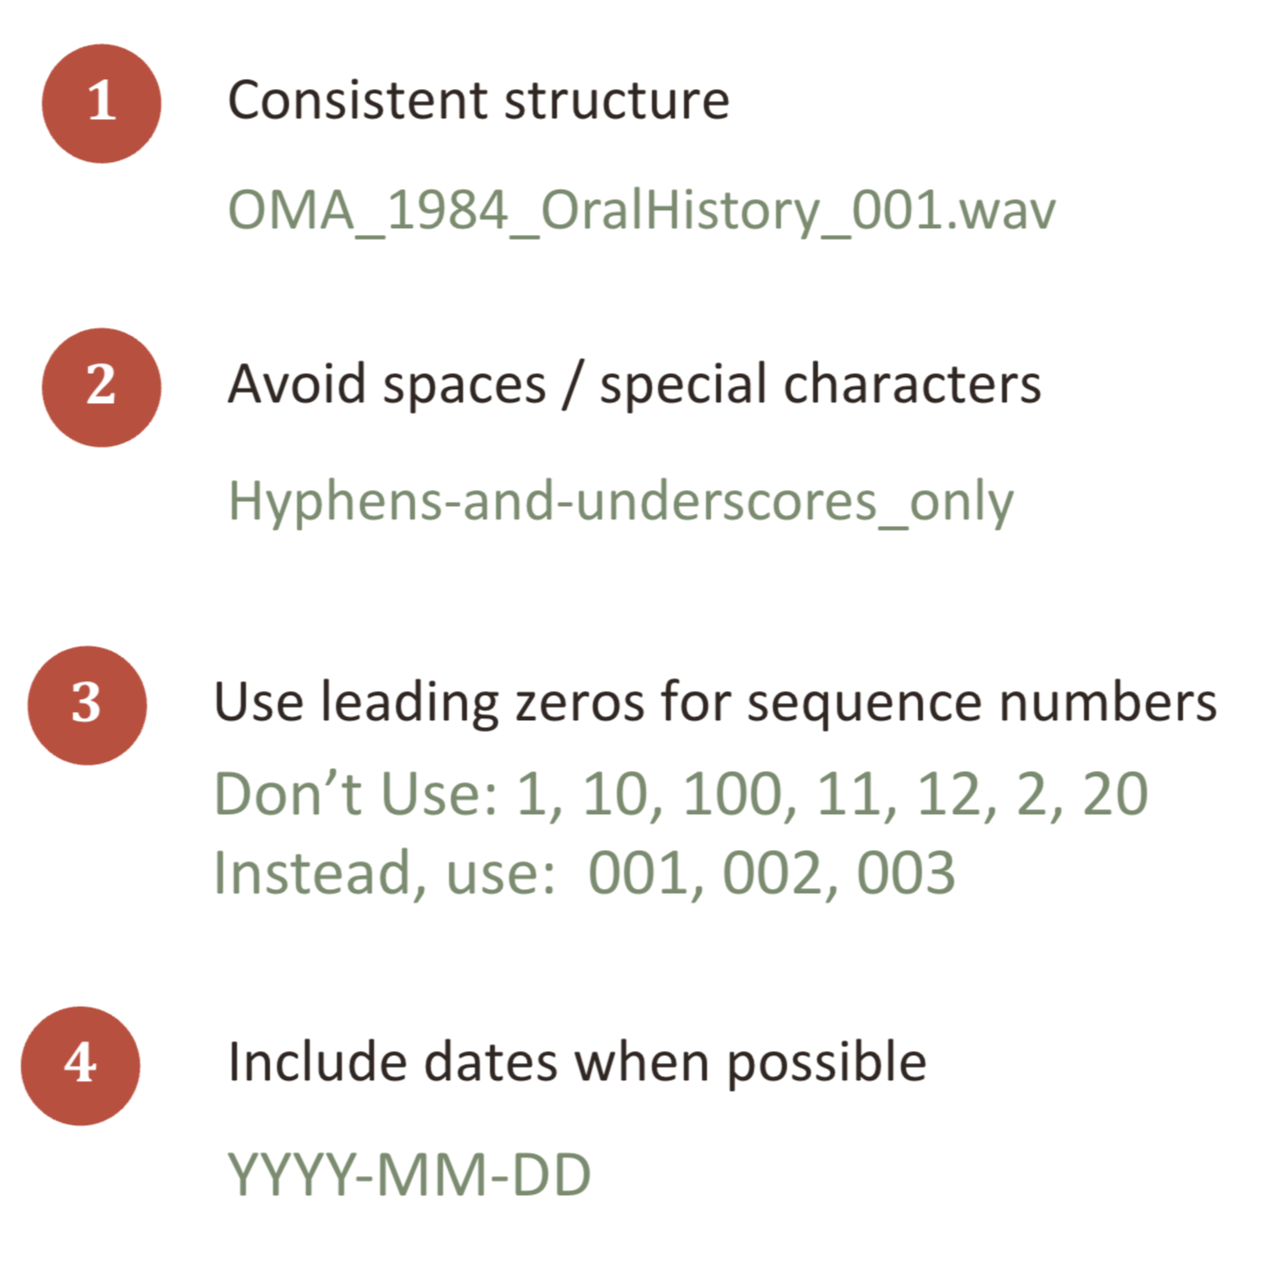
A good file naming system may not be glamorous, but it can save an enormous amount of time. Instead of relying on automatically generated names such as IMG_4837.jpg, develop a consistent naming convention. For example:
OMA_1984_OralHistory_001.wav
The exact system you choose matters less than using it consistently and documenting it.
Your naming convention should be: Consistent, Understandable, Scalable, Documented, and Easy for someone else to follow.
And remember: file names are only one piece of organization. A good digital archive combines file naming with metadata, folder structure, documentation, and a reliable storage strategy.
Digitization Is Not The Same as Digital Preservation
We will continue this blog next month, starting with why digitization is not the same as digital preservation.