A Guide to Recording and Preserving Oral Histories
When you think about your family history, what comes to mind? Old photo albums tucked away in closets? Faded letters and postcards from decades past? These items are precious, but they only tell part of the story. The laughter in your grandmother’s voice, the way your dad tells his favorite childhood story, or the expressions and pauses that make a memory come alive—these can’t be captured in a photograph or a written document.
That’s why oral histories are one of the most powerful ways to preserve your family’s legacy. They bring voices, emotions, and personalities to life in a way no other medium can. The best part? With today’s technology, recording and preserving these stories is easier than ever.
In this post, we’ll explore why oral histories matter, how to record them, and how to preserve and share them for generations to come. Whether you’re a seasoned family historian or just getting started, these tips will help you capture the voices that tell your family’s unique story.
Benefits of Digitally Recording Oral Histories
Photographs show faces. Documents share facts. Oral histories give you the soul of a person. Here’s why these recordings are so important:
Preserve authentic voices: Imagine hearing your great-grandmother’s accent or your father’s laugh decades from now. Those sounds are irreplaceable.
Capture context and emotion: A story told in a loved one’s own words includes tone, pauses, and expressions—details that bring the story to life.
Fill the gaps in the written record: Not everything makes it into letters or family trees. Oral histories often uncover traditions, jokes, and everyday experiences that would otherwise be lost.
Strengthen family connections: Sharing these recordings creates meaningful conversations between generations and deepens family bonds.
If you’ve ever wished you could “hear their voice just one more time,” then oral history recording is something you’ll never regret starting.
Tools & Setup For Digitally Recording Oral Histories
The beauty of recording oral histories today is that you don’t need expensive equipment. In fact, you probably have everything you need right now.
Basic Equipment Options
Smartphone: Use the built-in voice memo app or apps like Otter, Voice Recorder, or Rev.
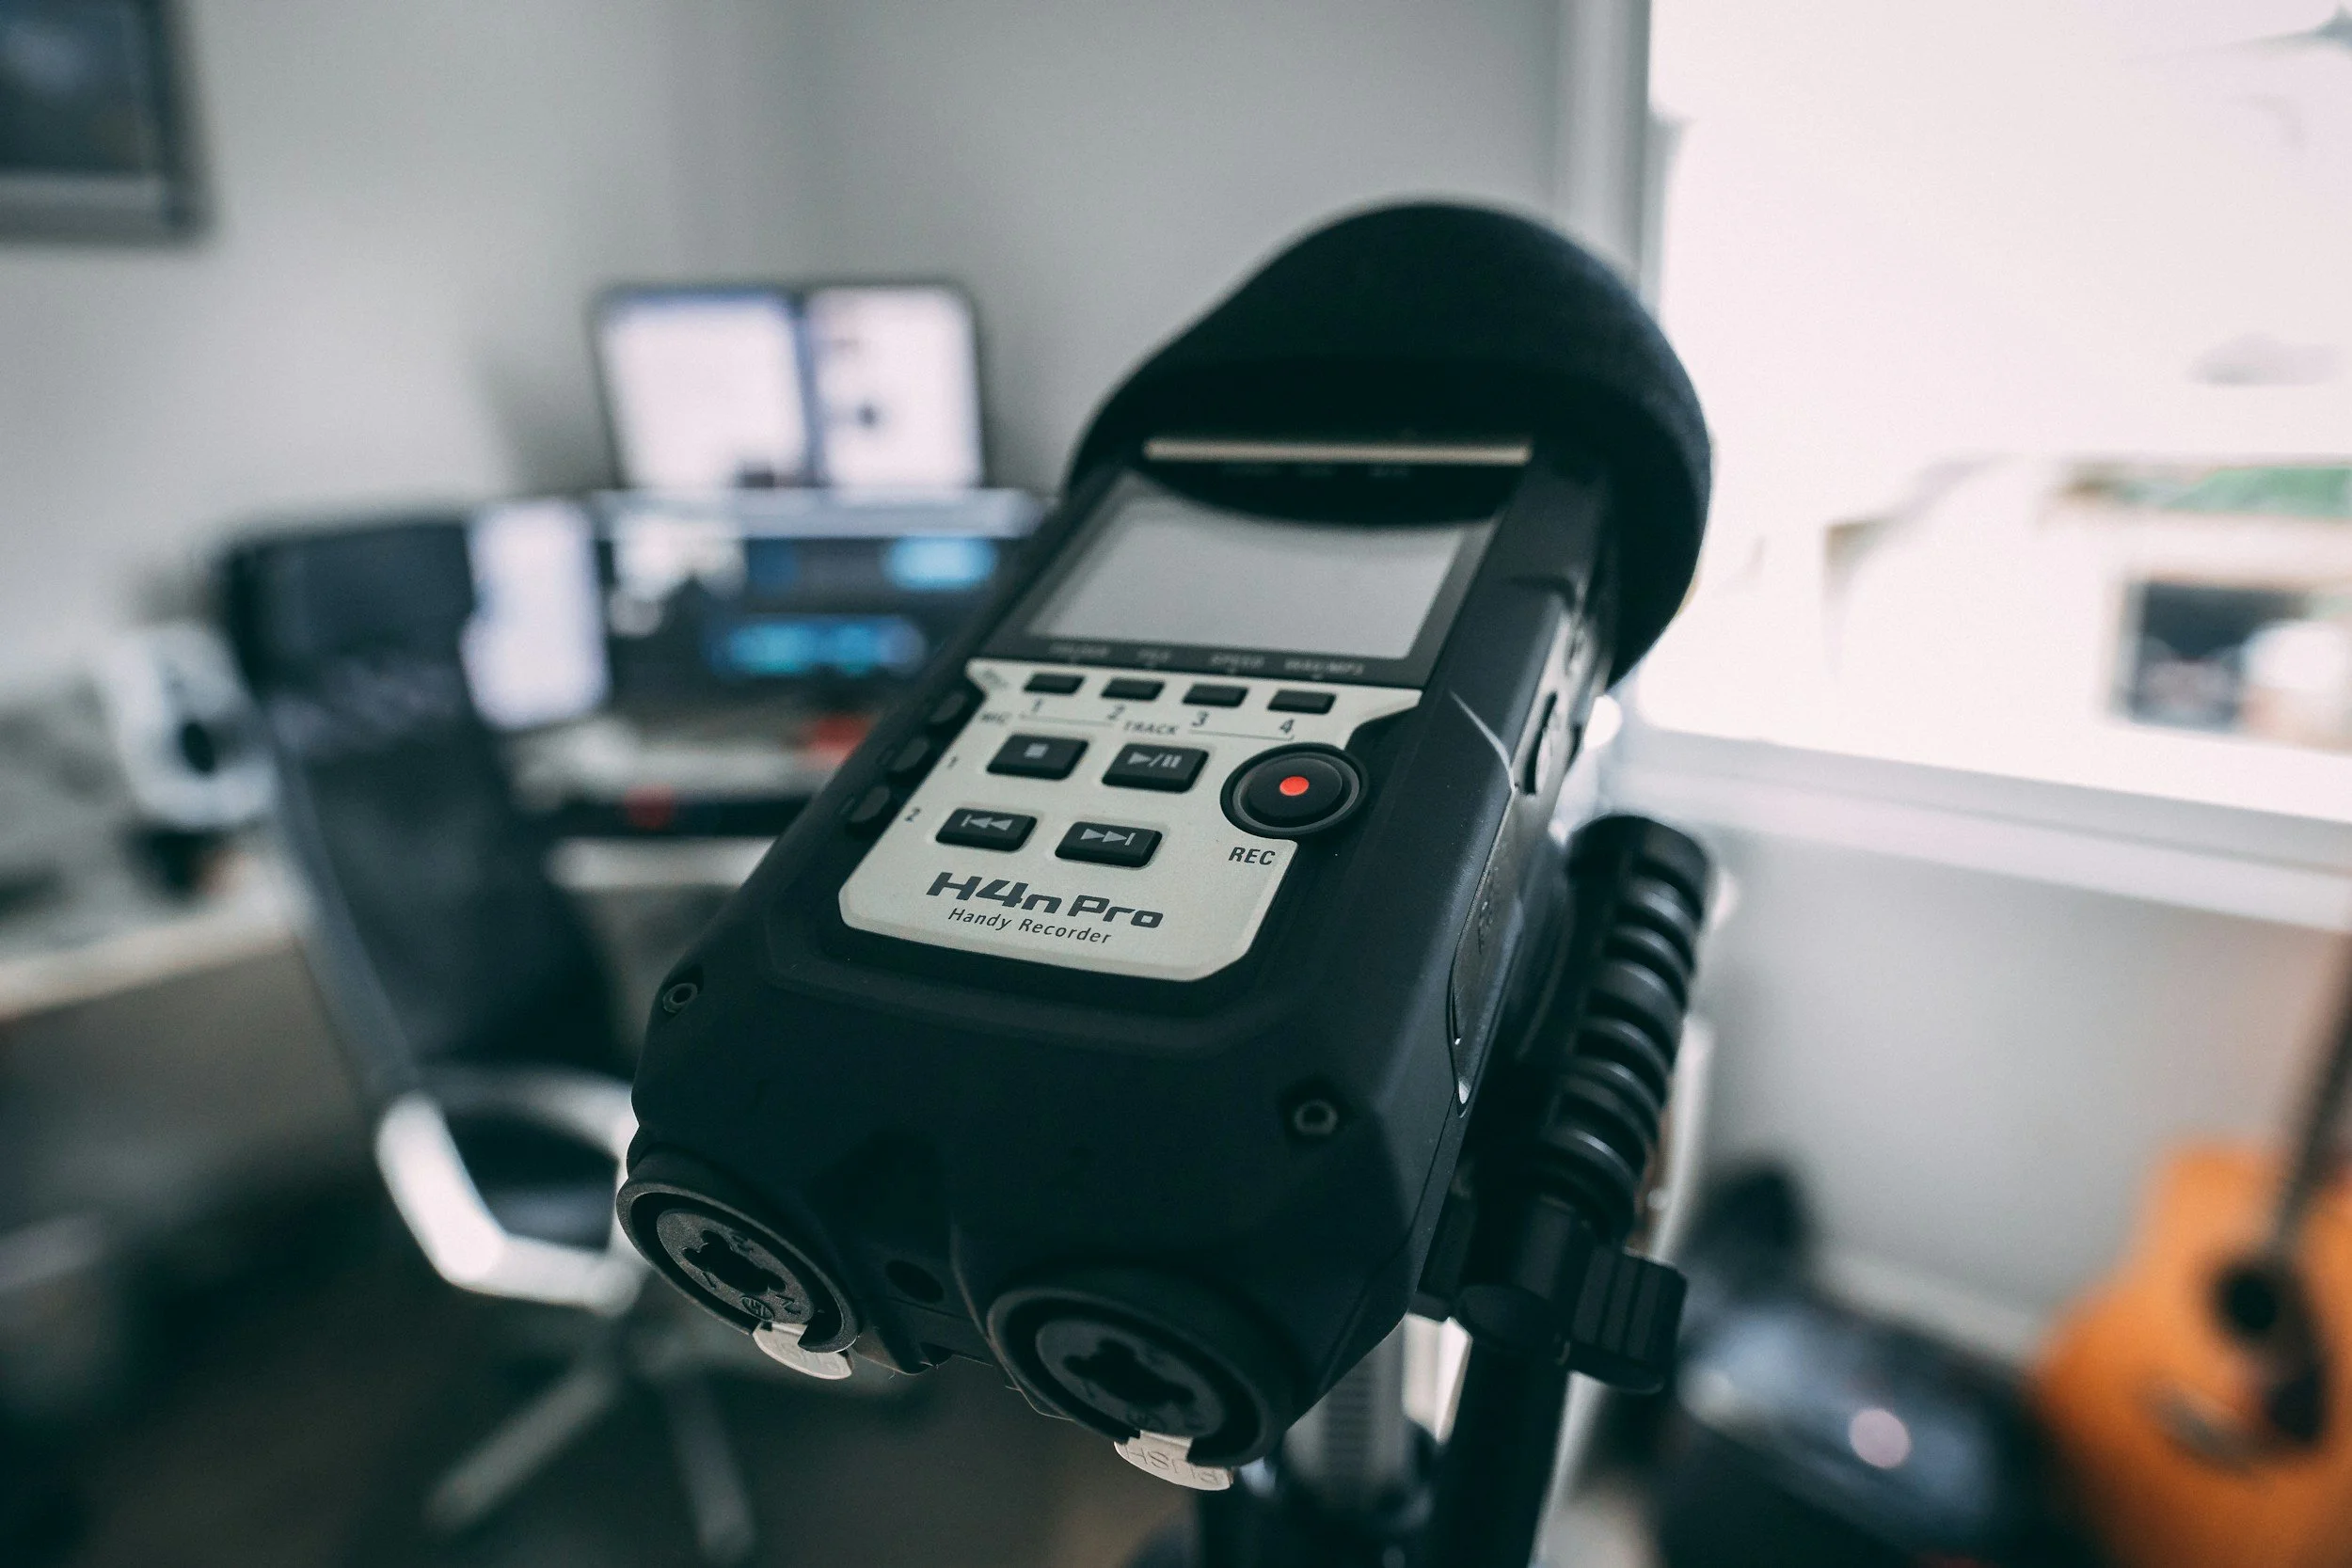
Digital Audio Recorder: For higher-quality audio, consider a handheld recorder like the Zoom H1n or Tascam DR-05.
External Microphone: If you want even clearer sound, a clip-on lavalier mic can make a big difference.
Video Option
Want to see their expressions as well as hear their voice? Use a smartphone or webcam for a video interview. Just make sure to stabilize the camera with a tripod for comfort and clarity.
Ideal Environment
Choose a quiet space: Minimize background noise like TVs, fans, or barking dogs.
Soft furnishings help: Rooms with carpet, curtains, and cushions reduce echo.
Comfort is key: Pick a cozy spot where your storyteller feels relaxed—like their favorite chair or kitchen table.
Tips for a Great Oral History Interview
The heart of an oral history project is the conversation. Here are some tips to make it meaningful and enjoyable for both you and your storyteller:
Set the Stage
Explain the purpose: Let them know this is about preserving their memories, not a formal test.
Get consent: Always ask permission to record and explain how the recording will be used.
Start small: Begin with simple questions to put them at ease.
Ask the Right Questions
Open-ended questions spark stories better than yes/no ones. Here are some great prompts:
What’s your earliest memory of your childhood home?
What family traditions do you remember from holidays?
Tell me about the day you met your best friend or partner.
What was a typical day like for you growing up?
Who in your family made the biggest impact on your life?
Pro Tip: Use Photos as Prompts
Pull out old photos, letters, or heirlooms during the interview. These visual cues often unlock vivid memories and lead to wonderful storytelling.
Keep the Flow Natural
Don’t interrupt—silence often encourages more detail.
Avoid correcting details or timelines; let the story unfold.
Laugh with them, show interest, and let conversations wander—it’s often in the tangents where the magic happens.
Technical Tips for a Smooth Recording
Charge your device and clear storage before you start.
Do a test run: Record a few seconds and play it back to check volume and clarity.
Speak naturally: Keep your own voice soft but clear if you’re asking questions.
File naming: Immediately label your files with names, dates, and topics (e.g., Grandma_Ruth_Childhood_Memories_2025-08-25).
Preserving and Organizing Your Oral History Recordings
Recording is just the first step. Preservation ensures your stories will last for generations.
Choose the Right File Format
Audio: WAV files are high quality but large; MP3 is smaller and widely compatible.
Video: MP4 is a good standard format for most uses.
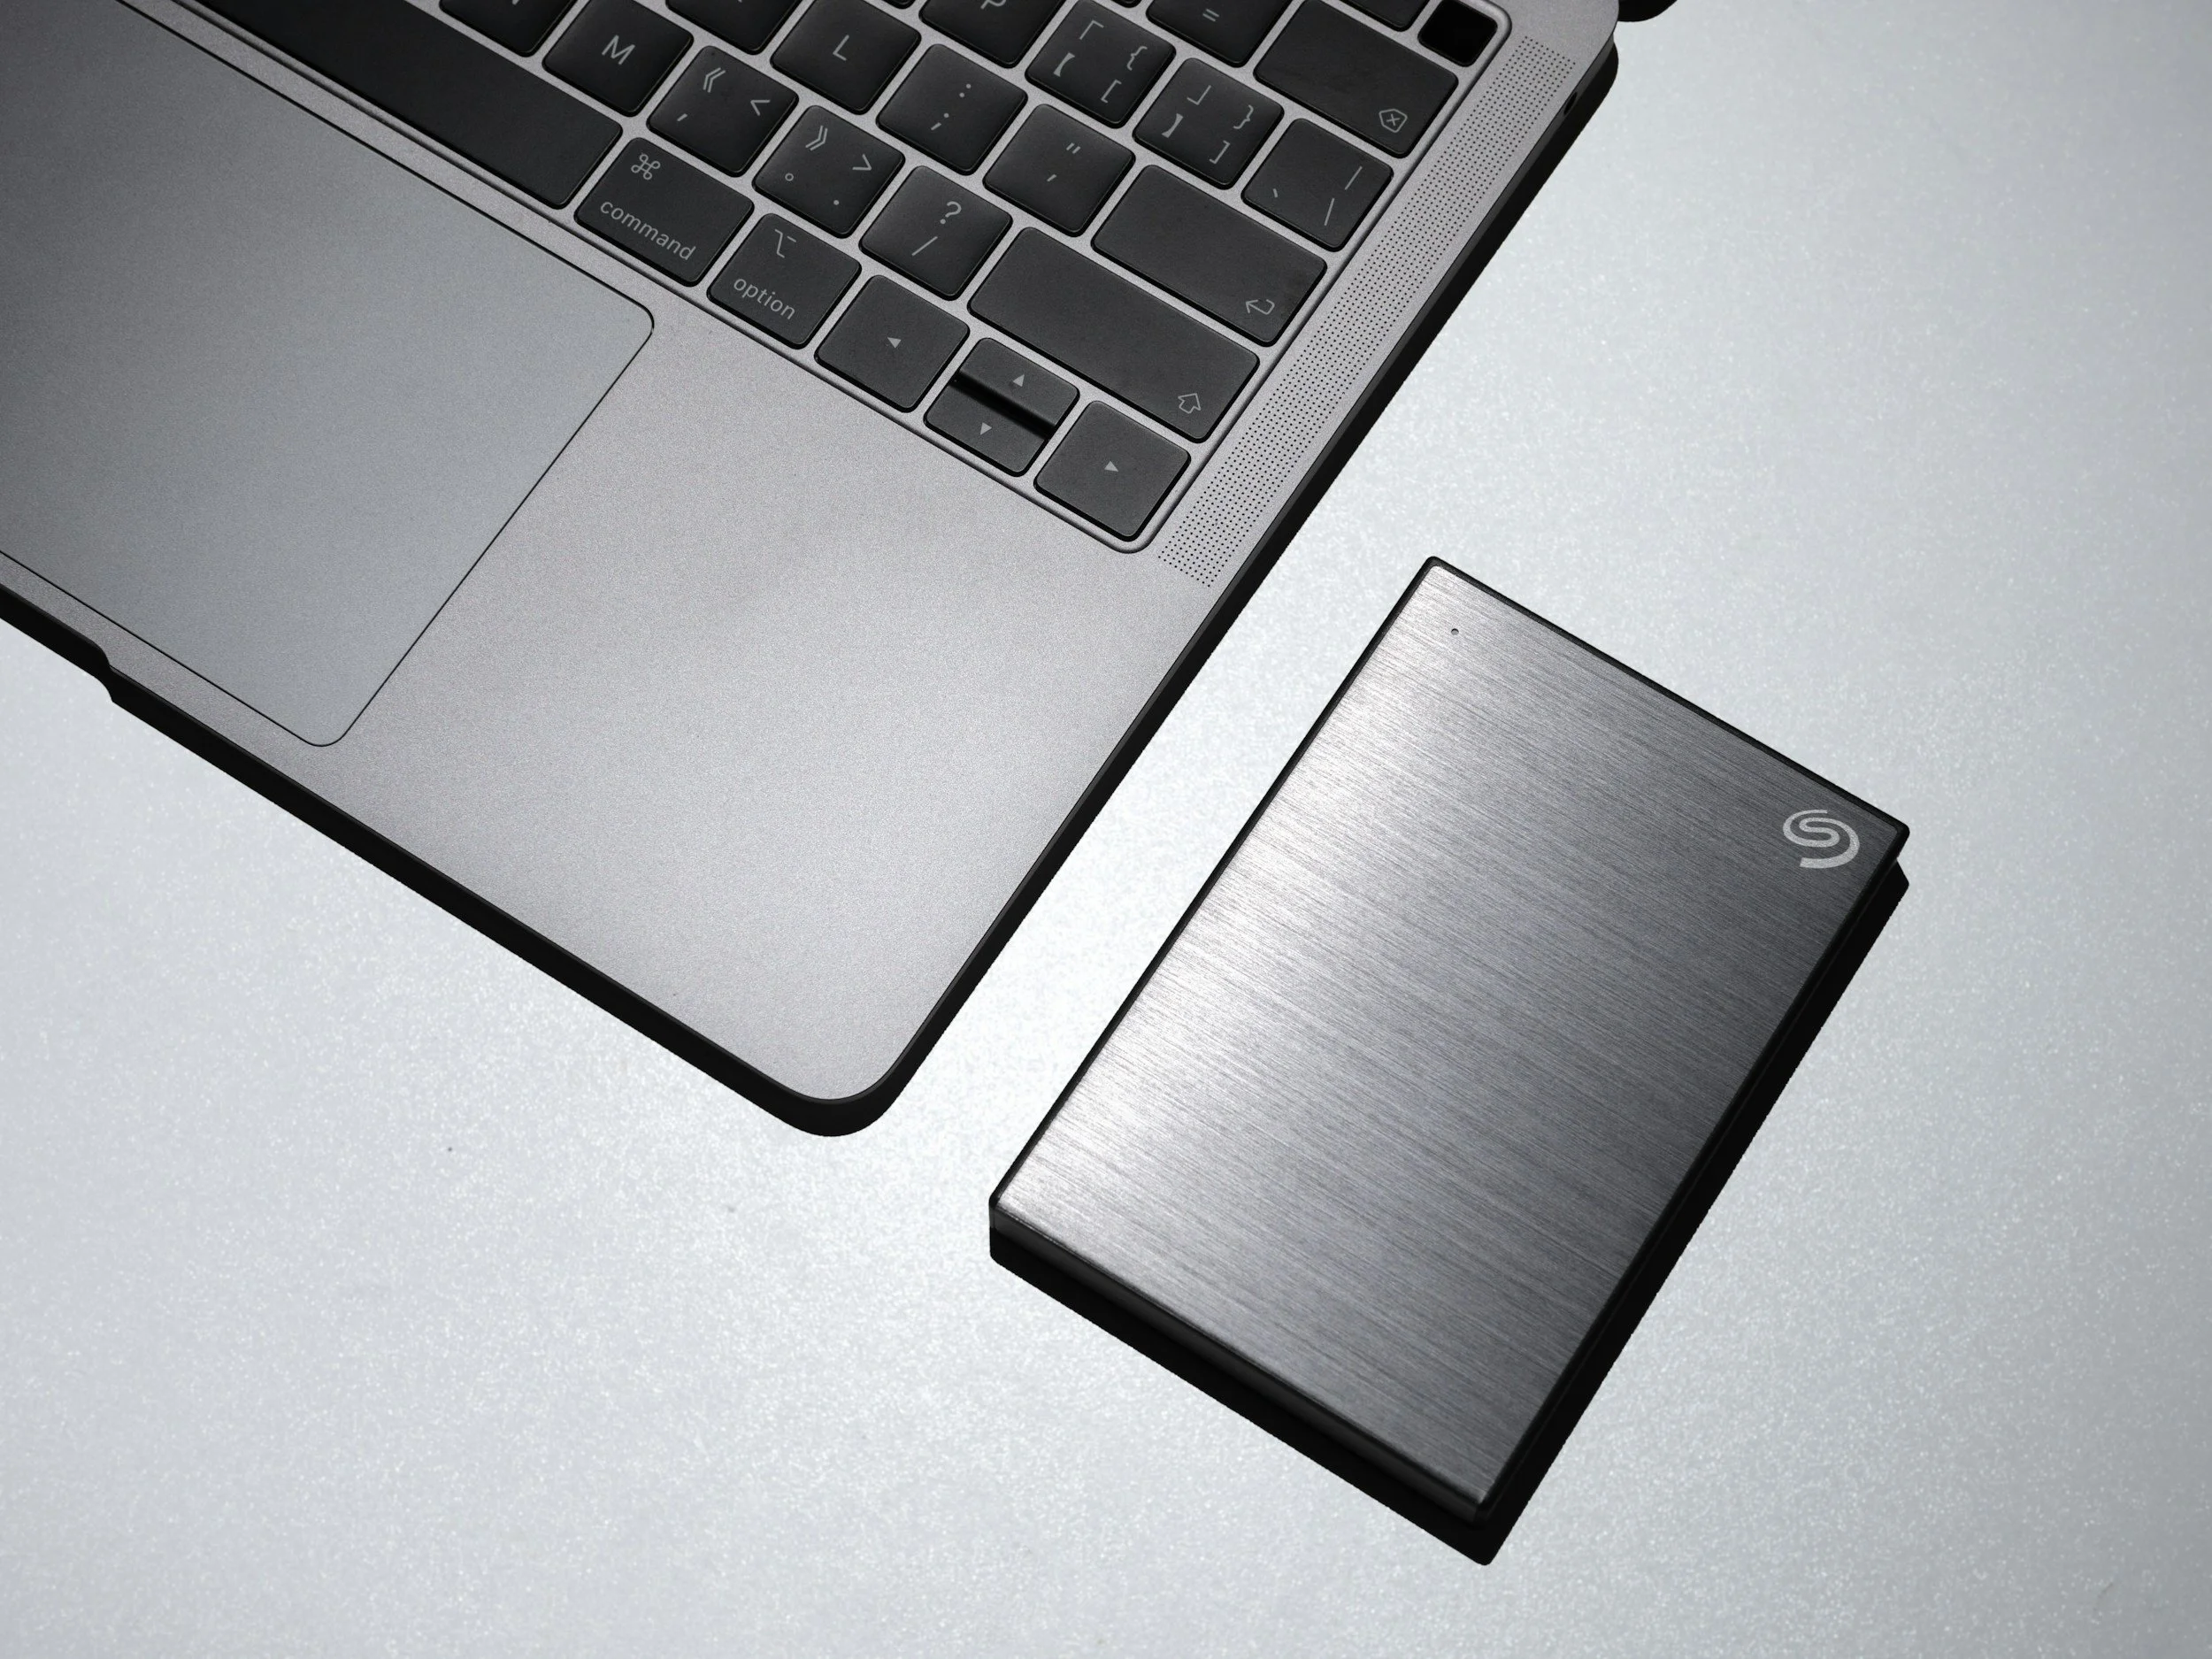
Back Up Your Files
Follow the 3-2-1 Rule:
3 copies of every file.
2 different types of storage media (e.g., external hard drive and cloud).
1 copy off-site (cloud storage or with a trusted family member).
Consider using archival-friendly cloud platforms like Forever, Backblaze, or iDrive for long-term storage.
Add Metadata
Include names, relationships, locations, and topics in the file description or a separate document.
Example: “Interview with Grandpa John about life during the 1950s in Chicago.”
Transcribing and Enhancing Accessibility
Transcribing the audio makes it searchable and accessible for those with hearing challenges.
DIY or Tools
Use services like Otter.ai, Rev, or Descript for fast, accurate transcripts.
Save transcripts in PDF or Word format alongside the audio/video files.
Creative Ways to Share Oral Histories
Once you have your recordings, why not turn them into something engaging? Here are a few ideas:
Create a Family Podcast: Share short episodes featuring different relatives’ stories.
Make a Digital Storybook: Combine audio clips with photos and captions for a multimedia experience.
Incorporate into a Family Website: Build a private family history page where everyone can access recordings.
Play During Reunions: Imagine listening to a late grandparent’s voice at a family gathering—powerful and emotional.
Oral Histories Can Be an Important Part of Your Family Archive
Life moves fast, and memories fade. Every day we wait is a missed opportunity to capture voices and stories that make our families unique. Recording oral histories is an act of love, a gift for future generations, and a way to keep the essence of loved ones alive.
Overcoming Common Challenges
“My family member is shy.”
Start with light, fun topics—favorite meals, hobbies, or family pets—before diving deeper.“They can’t remember details.”
Use props like photos or music from their era. Memories often return with sensory cues.“What if I mess up the technology?”
Do a short practice session and keep backups. Perfection isn’t the goal—connection is.
Your Next Step
Grab your phone, make a list of questions, and call a loved one today. Ask them to tell you a story you’ve never heard before—and press record. One day, you’ll be so glad you did.
Ready to create a full family archive that includes photos, documents, and voices?
At The Family Archivists, we help families organize, digitize, and preserve their most meaningful memories. Contact us today to start your own legacy project.